Subscriptions allow your center to track active packages and renewal cycles for each customer. These records also power what parents and students see in the FeePlus Client App — including subscription start dates, expiry dates, and payment history.
This guide shows you how to create subscription services and assign them to customers in the admin console.
Create a Subscription Service
Before adding a subscription to a customer, you must first create a service with a fee frequency.
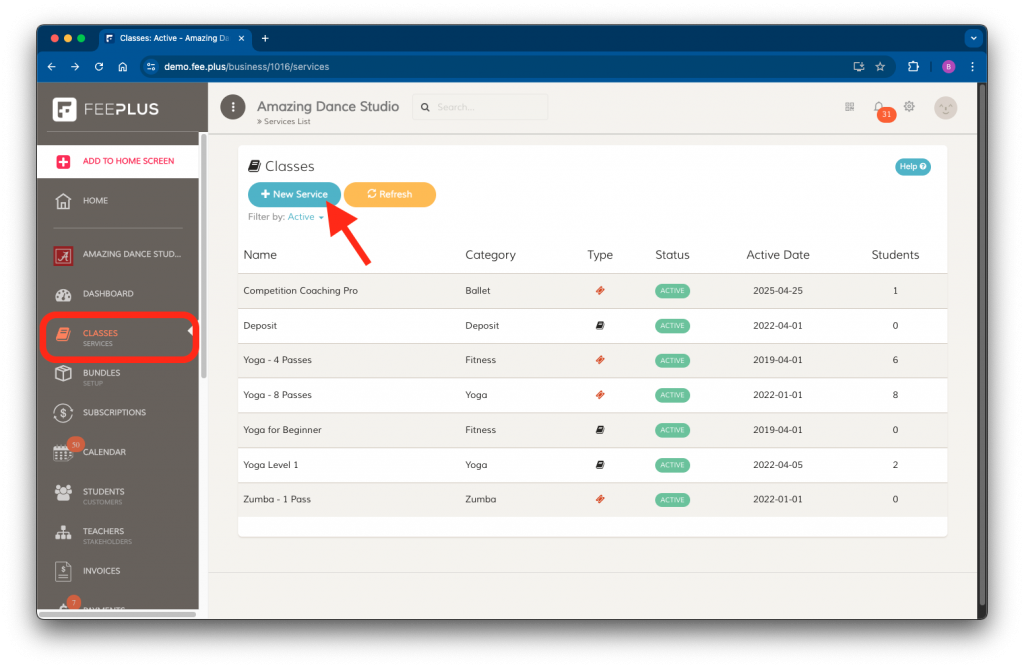
- Go to Services.
- Click New Service.
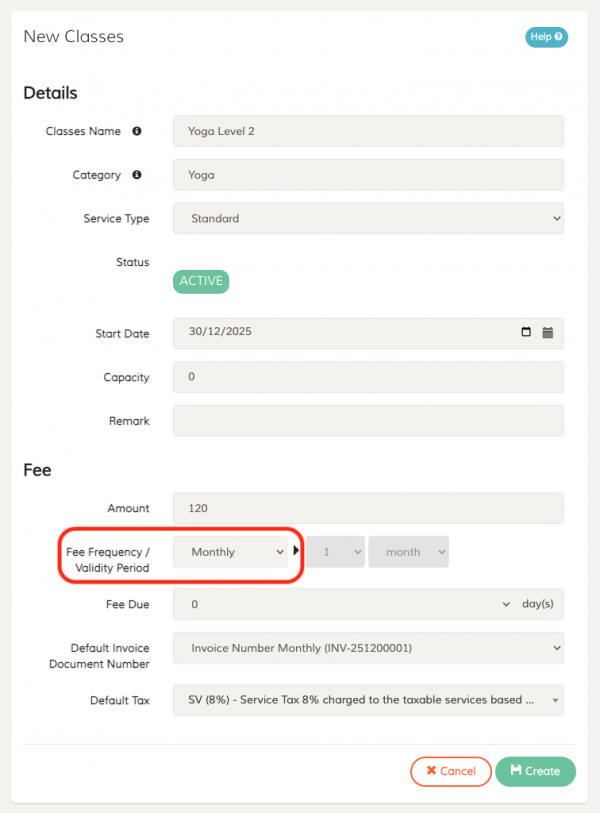
- Set the name, category, fee amount and fee frequency.
- Important: To create a subscription service, the fee frequency must be set to anything other than “NA.”
- (Optional) Set the default document number and tax settings.
- Click Create to save the new subscription service.
Add a Subscription to a Customer
Once the subscription service is created, assign it to a customer:
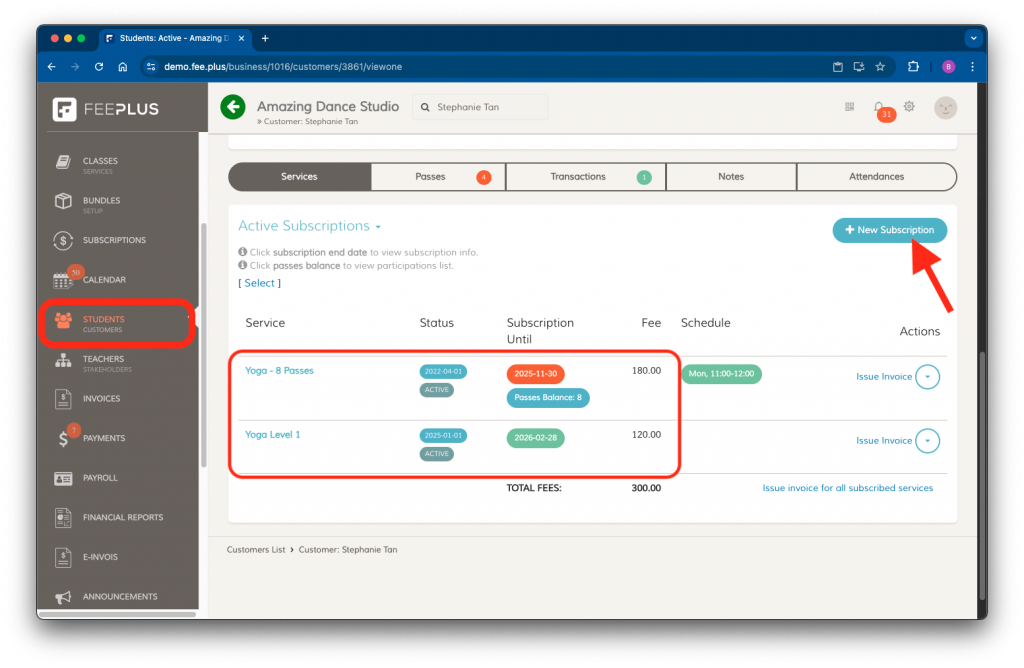
- Go to Customers.
- Select the customer you want to assign the subscription to.
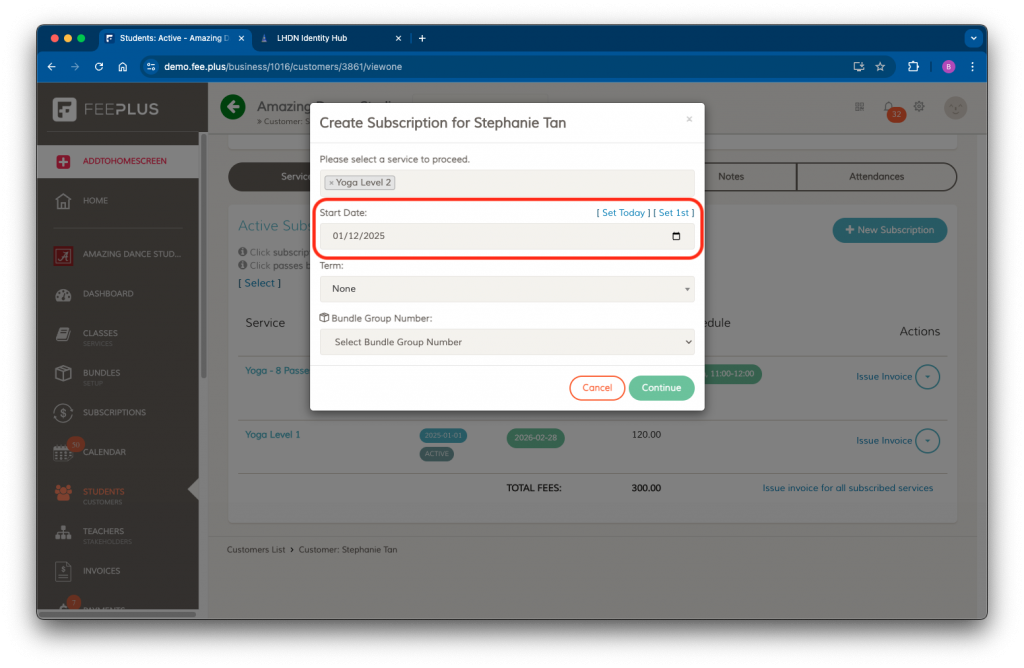
- Scroll to the Subscriptions section and click New Subscription.
- Select the subscription service and set the start date.
- Important: The start date determines the next renewal date for all future renewals.
- (Optional) Set the term and bundle group number.
- Click Continue to add the subscription.
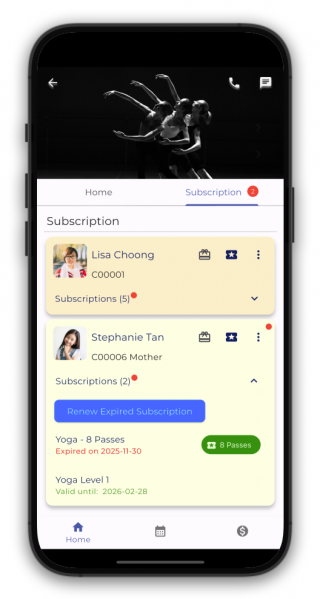
How it Appears in the FeePlus Client App
After a subscription is added to the customer record, the customer will be able to view:
- Subscription start date
- Validity period
- Renewal options
- Payment history (if recorded)
This information appears automatically in the FeePlus Client App once the subscription is saved in the admin console.